
Walkthrough
One end-to-end path through Dungbeetle, in three stages you can adopt in order: run it locally on your machine, commit snapshots to your repo and review changes in pull requests, then graduate to the cloud for hosted review and analytics. Every command works as written.
Local
Install Dungbeetle, capture a baseline, introduce a regression, and read the semantic diff — no account, entirely on your machine.
# Install Dungbeetle (global)
npm install -g dungbeetle

# Install Dungbeetle (project)
# npm install --save-dev dungbeetle
Setup
Create the config (see Configuration for more details)
# Initialise
dungbeetle init

# Capture baseline
dungbeetle update

# Test for differences
dungbeetle test
Preview local report
# … change the page / command / fixture your target captures
dungbeetle ci --json report.json --html report.html
open report.html
For a complete, copy-paste walkthrough in a real project — with screenshots of the diff report at each step — follow one of the Examples: Laravel, VitePress, Python, or Go.
Commit snapshots to the repo for manual review
The lightest team workflow keeps baselines in your repository and reviews changes the same way you review code — no cloud account.
Commit the baseline directory the CLI writes:
shdungbeetle update git add dungbeetle.snapshots/ git commit -m "Add Dungbeetle baselines"In CI, run
dungbeetle cion every push. A regression fails the job and writes a semantic-diff report you can publish as a build artifact:shdungbeetle ci --json report.json --html report.htmlWhen a diff is intentional, run
dungbeetle update, commit the changed files underdungbeetle.snapshots/, and the baseline change shows up in the pull request — reviewers approve it alongside the code. Because the diff is a readable node-level change, not a binary blob, it reviews like any other source change.
This is the whole workflow for many teams. Reach for the cloud only when you'd rather not commit baselines, or want hosted review and analytics (next).
Review & approve with analytics
Use the Dungbeetle cloud server to store results centrally and review diffs in a browser — without committing baselines. This uses the managed cloud (currently in closed beta); running the server on your own infrastructure is an enterprise self-hosting option.
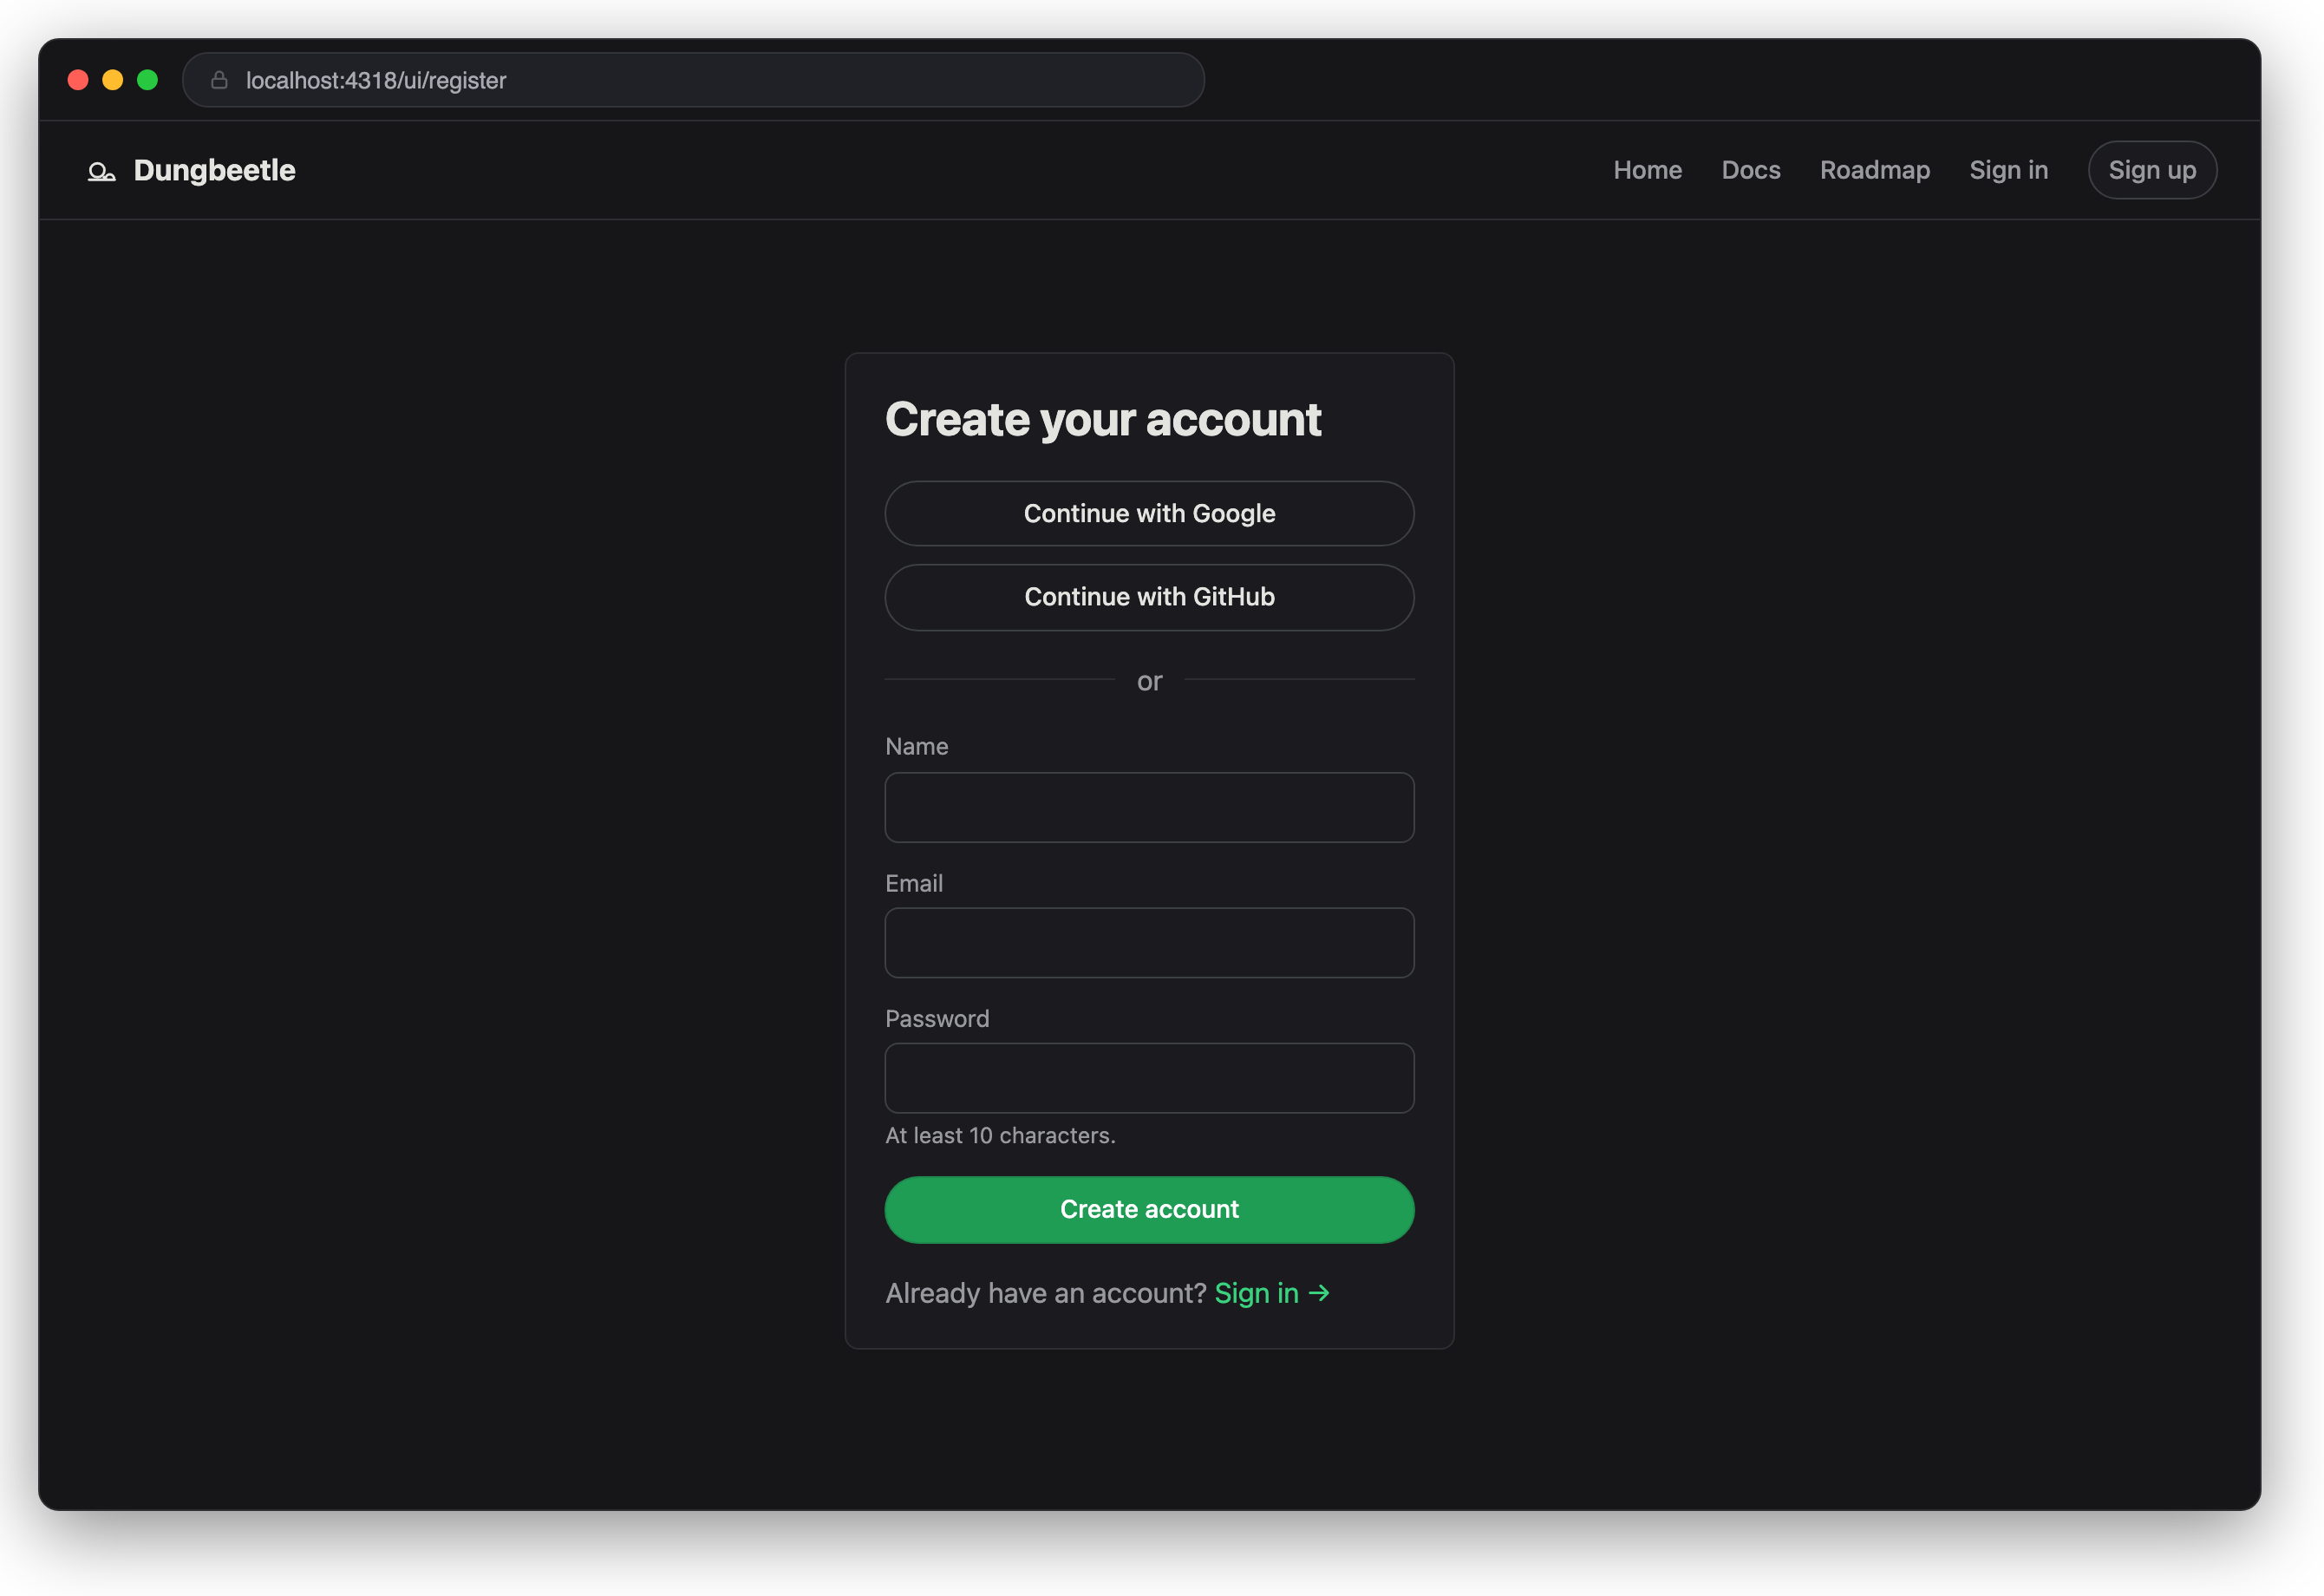
1. Create an account
Open your Dungbeetle cloud (the managed URL you were given for the beta; enterprise self-hosters use their own server, e.g. http://localhost:4317) and register — email + password, or Continue with Google / GitHub. Signup creates your Personal team automatically; the header breadcrumb's team dropdown switches between teams if you later create or join more.
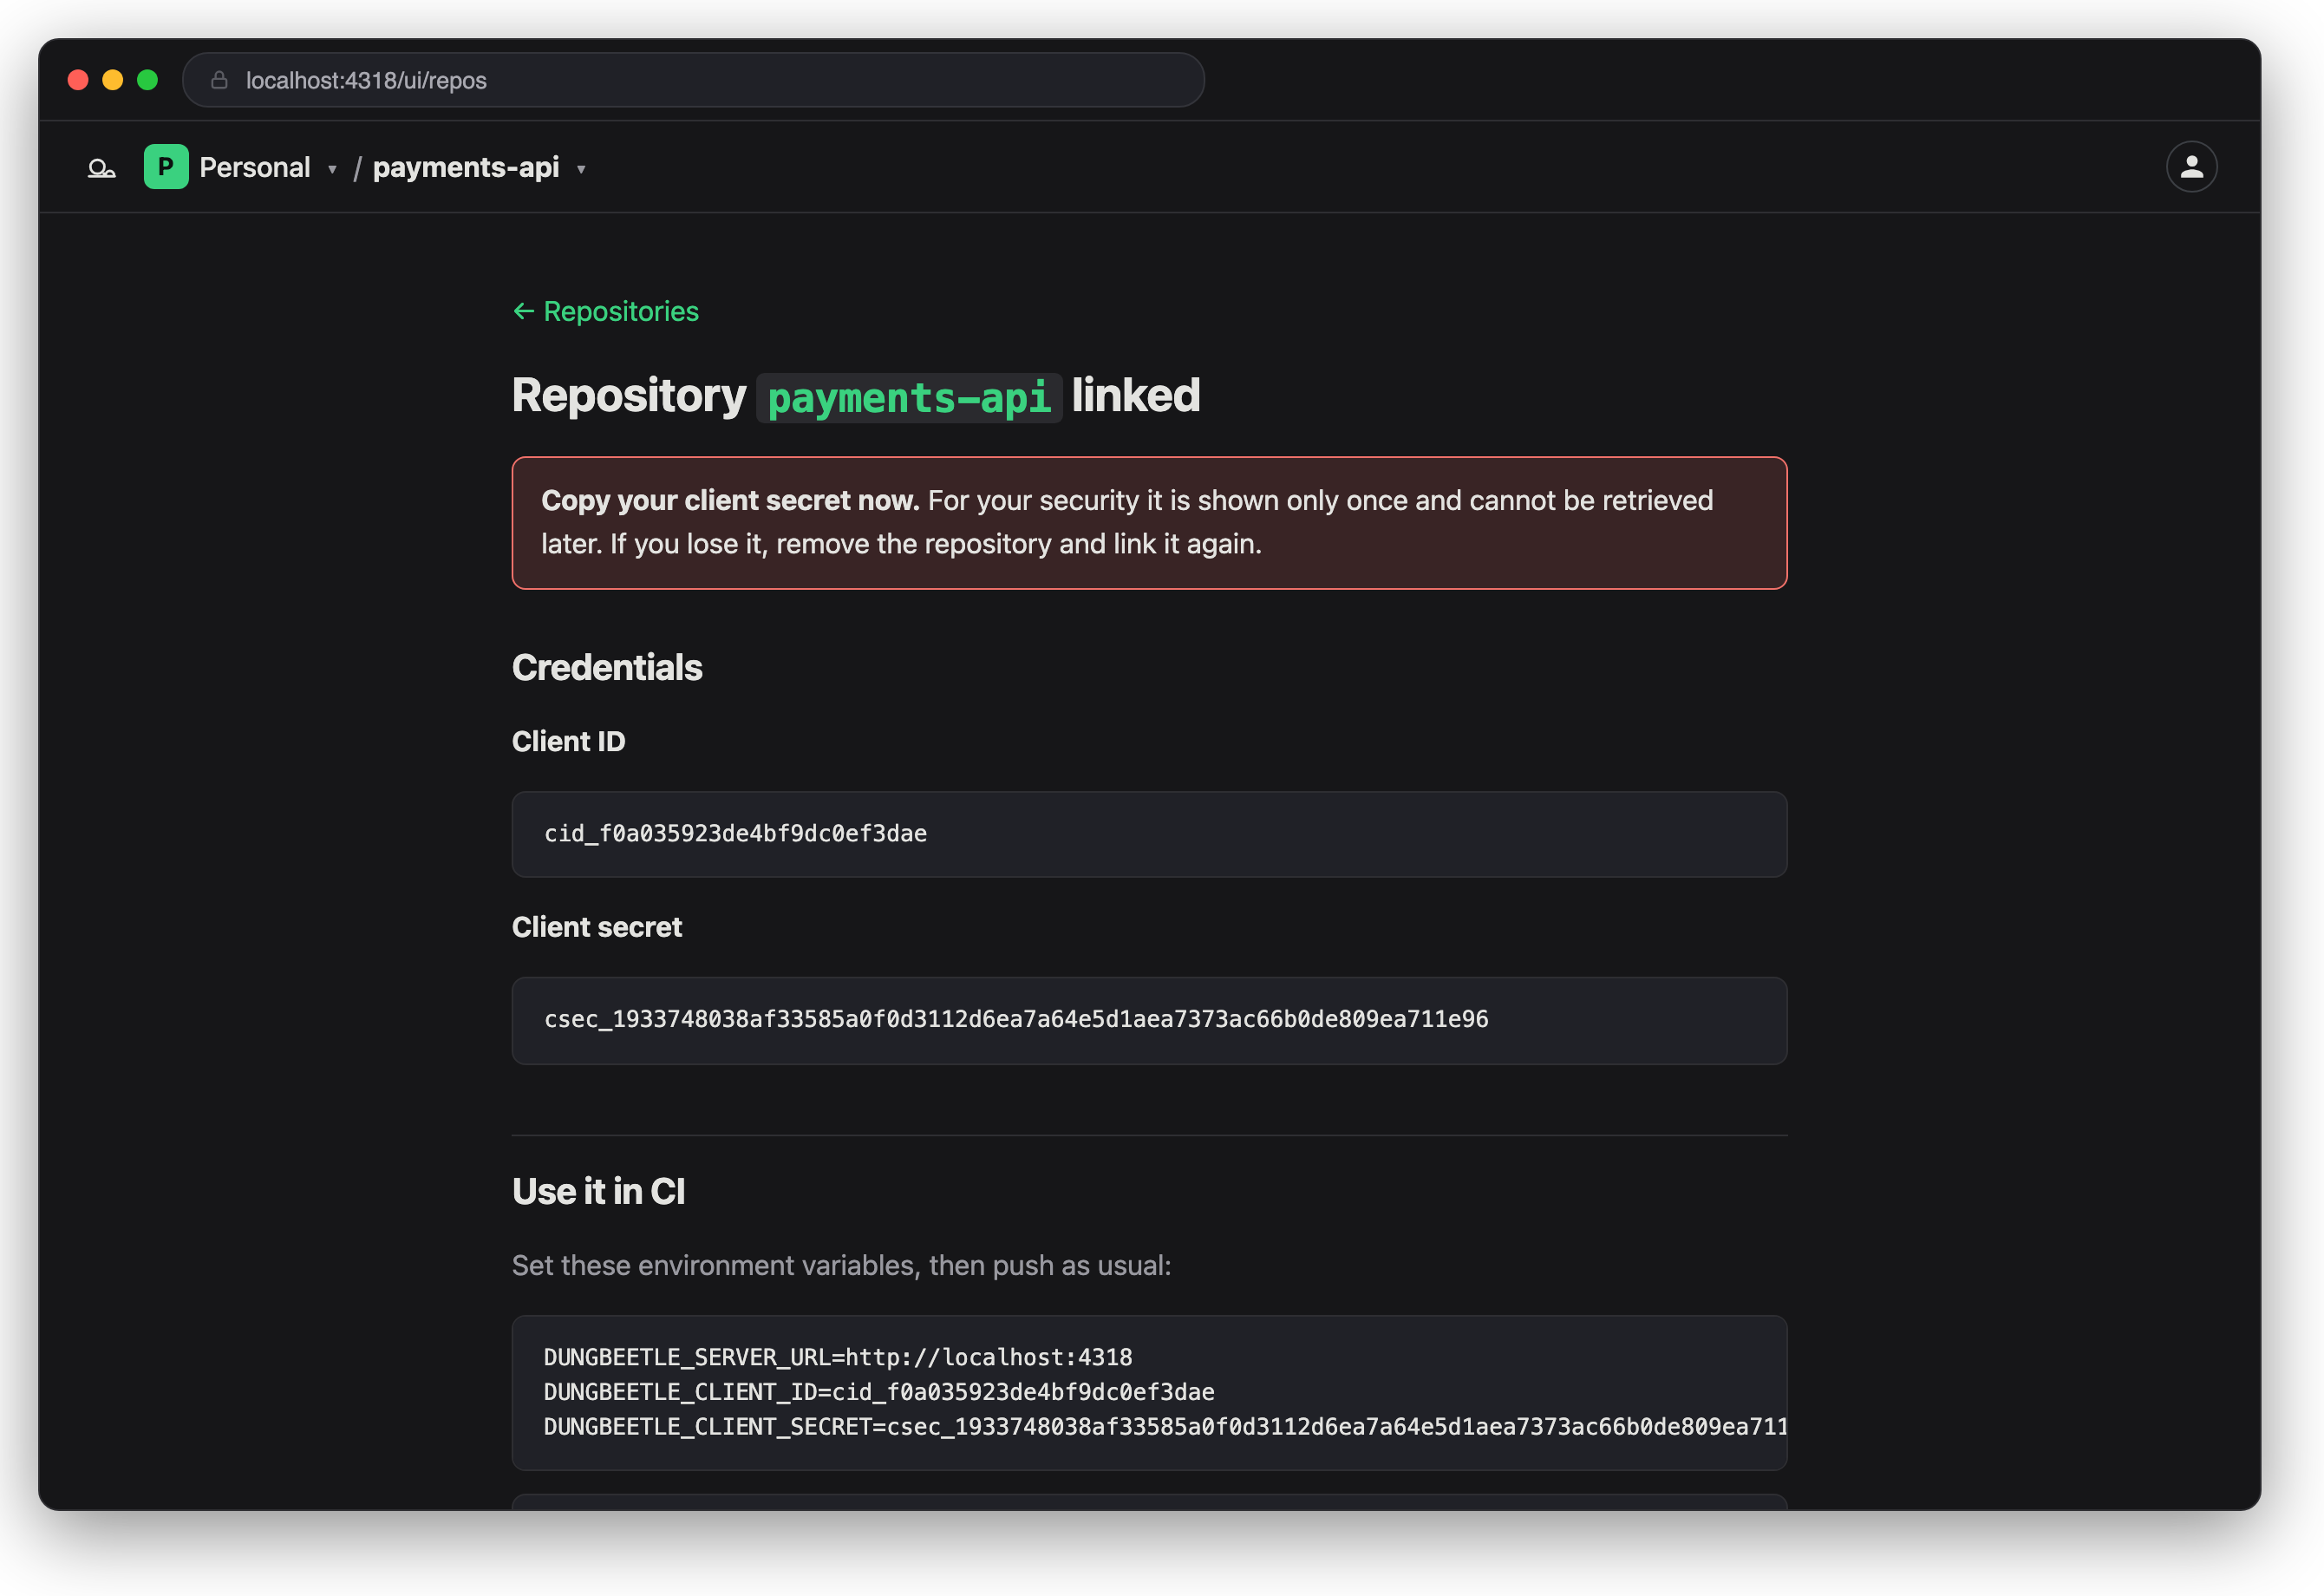
2. Create a repository
On the Repositories page (/ui/repos), choose New repository (for the active team) to mint a client_id / client_secret. The secret is shown once — copy it now (the page also prints the CI environment variables to set).
3. Push a run from CI (or locally)
dungbeetle ci --json .dungbeetle/ci-report.json --with-snapshots --json-only
# use your Dungbeetle cloud URL (managed beta URL, or your enterprise server)
DUNGBEETLE_SERVER_URL=https://your-dungbeetle-cloud \
  DUNGBEETLE_CLIENT_ID=cid_… DUNGBEETLE_CLIENT_SECRET=csec_… \
  dungbeetle push --report .dungbeetle/ci-report.json --branch main --commit "$GIT_SHA"
--with-snapshots ships candidate snapshots so an approved run can be promoted to new hosted baselines (step 4).
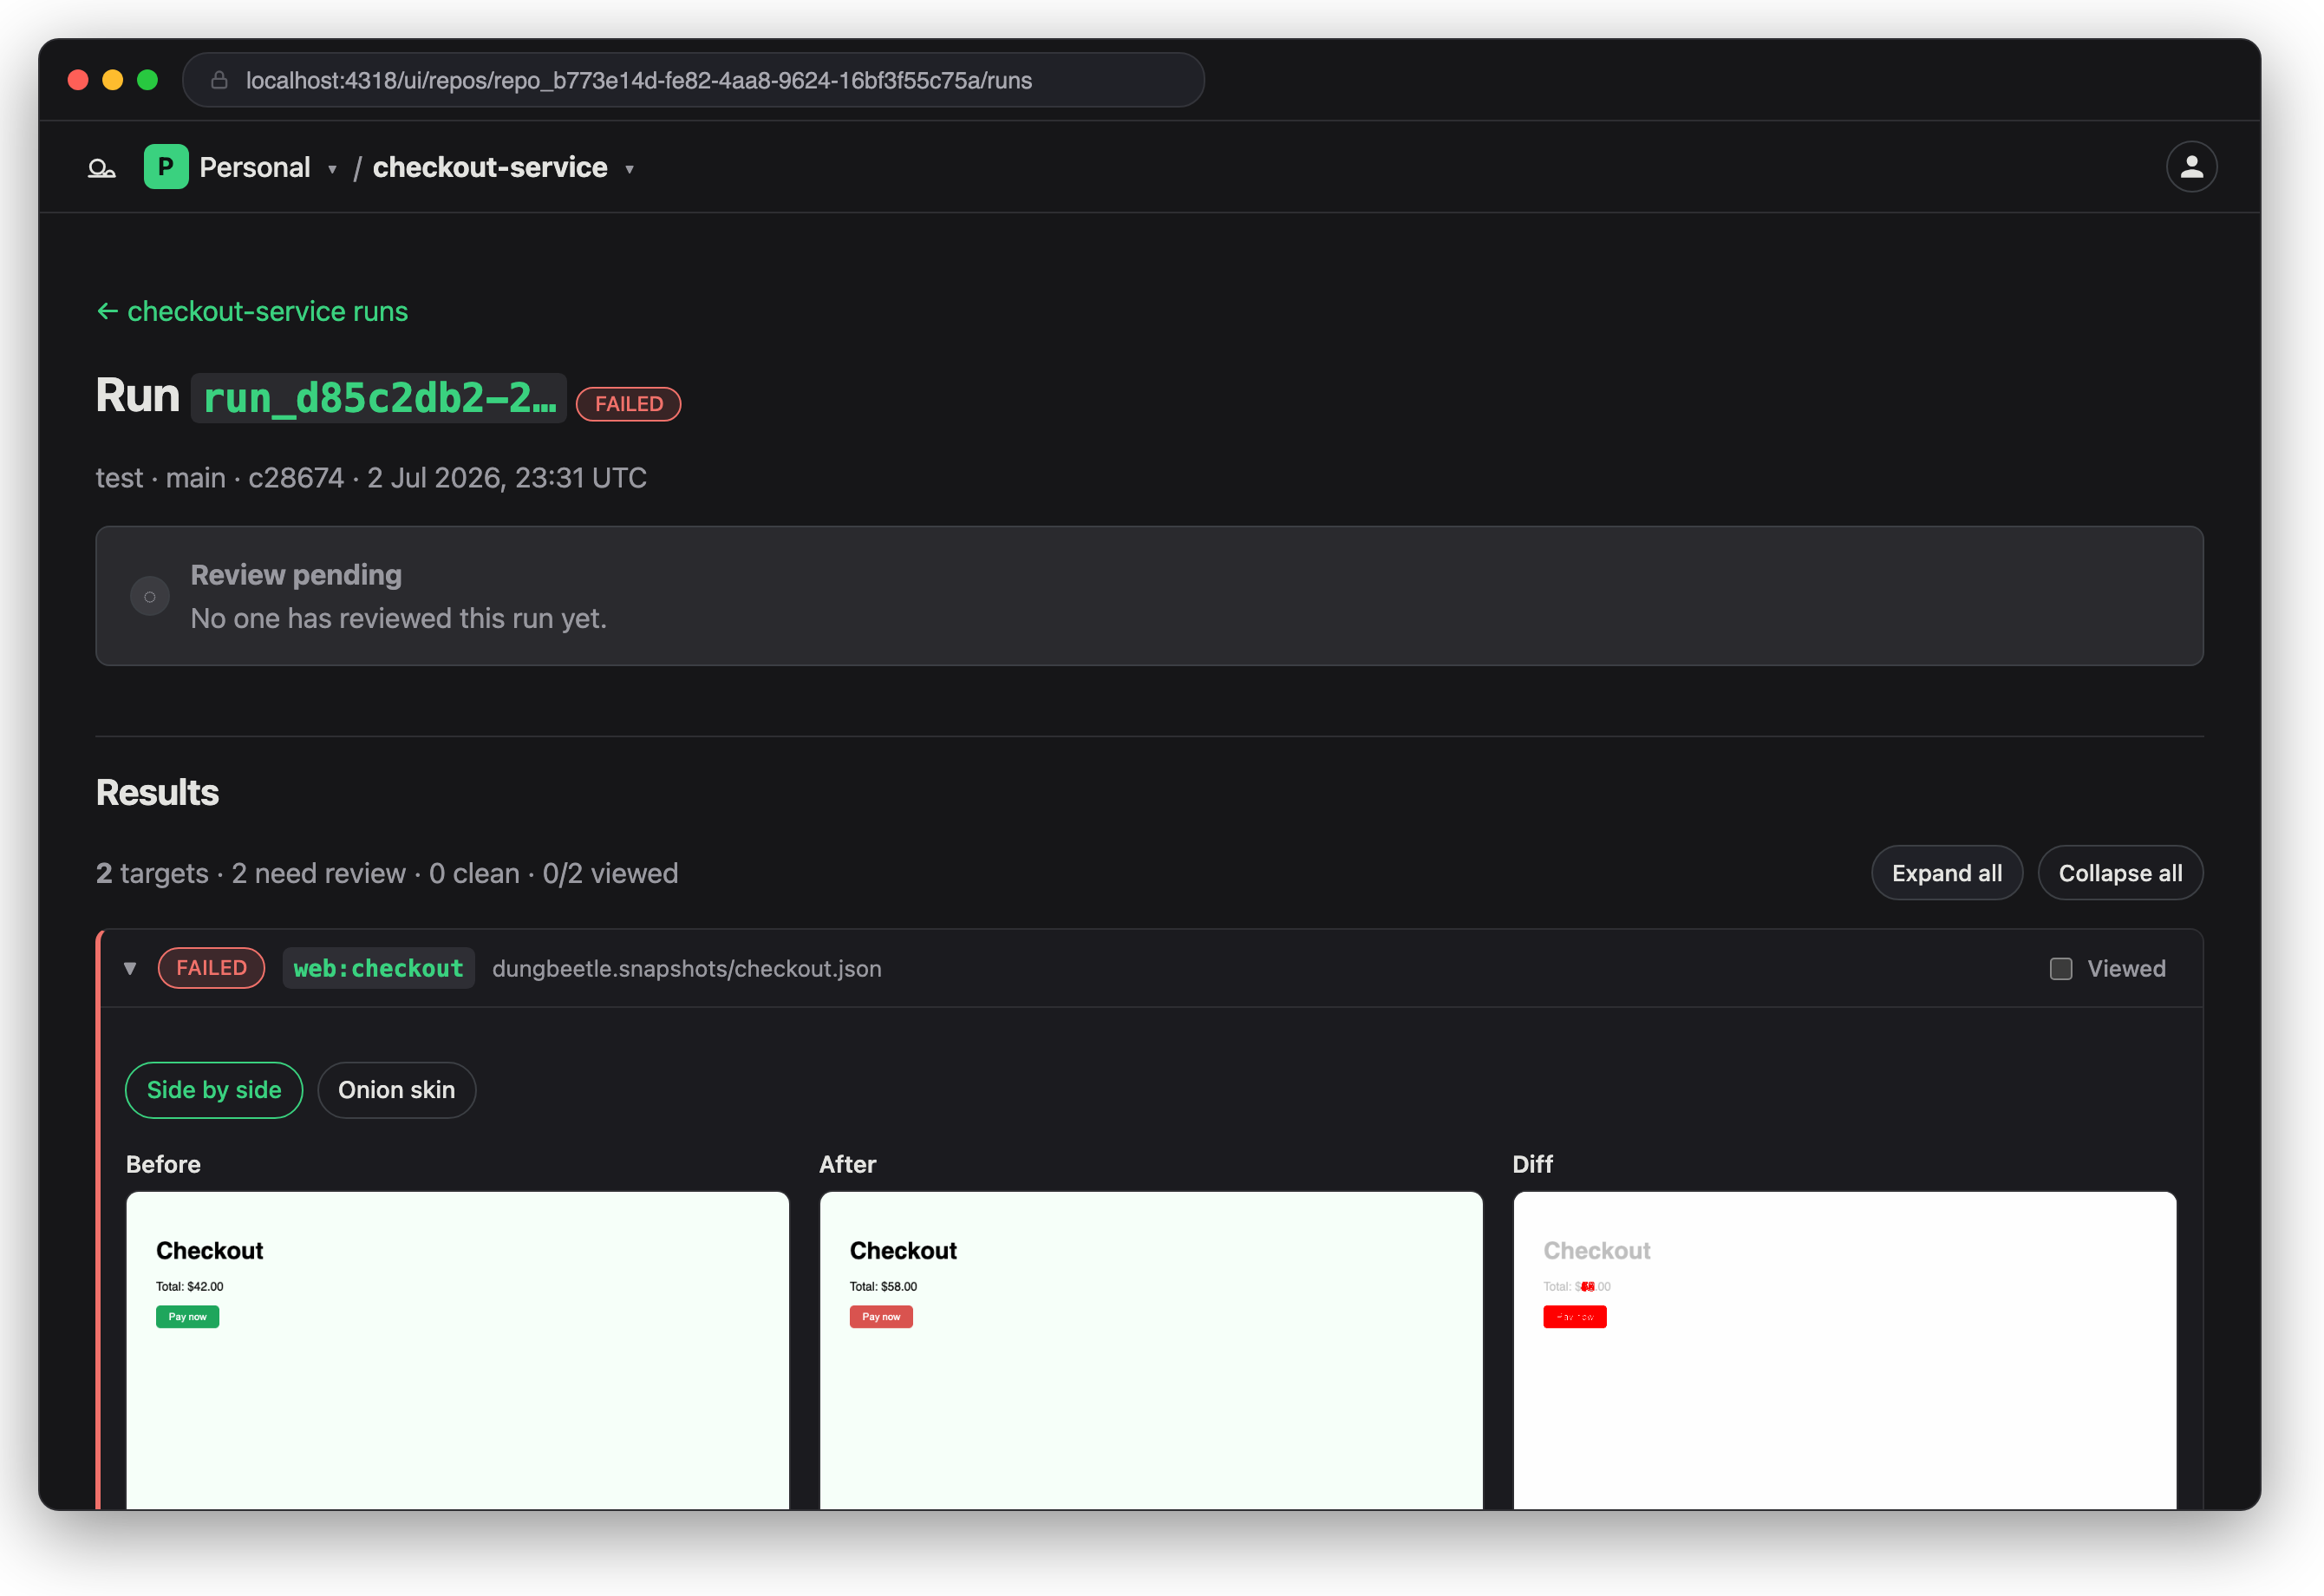
4. Review and approve
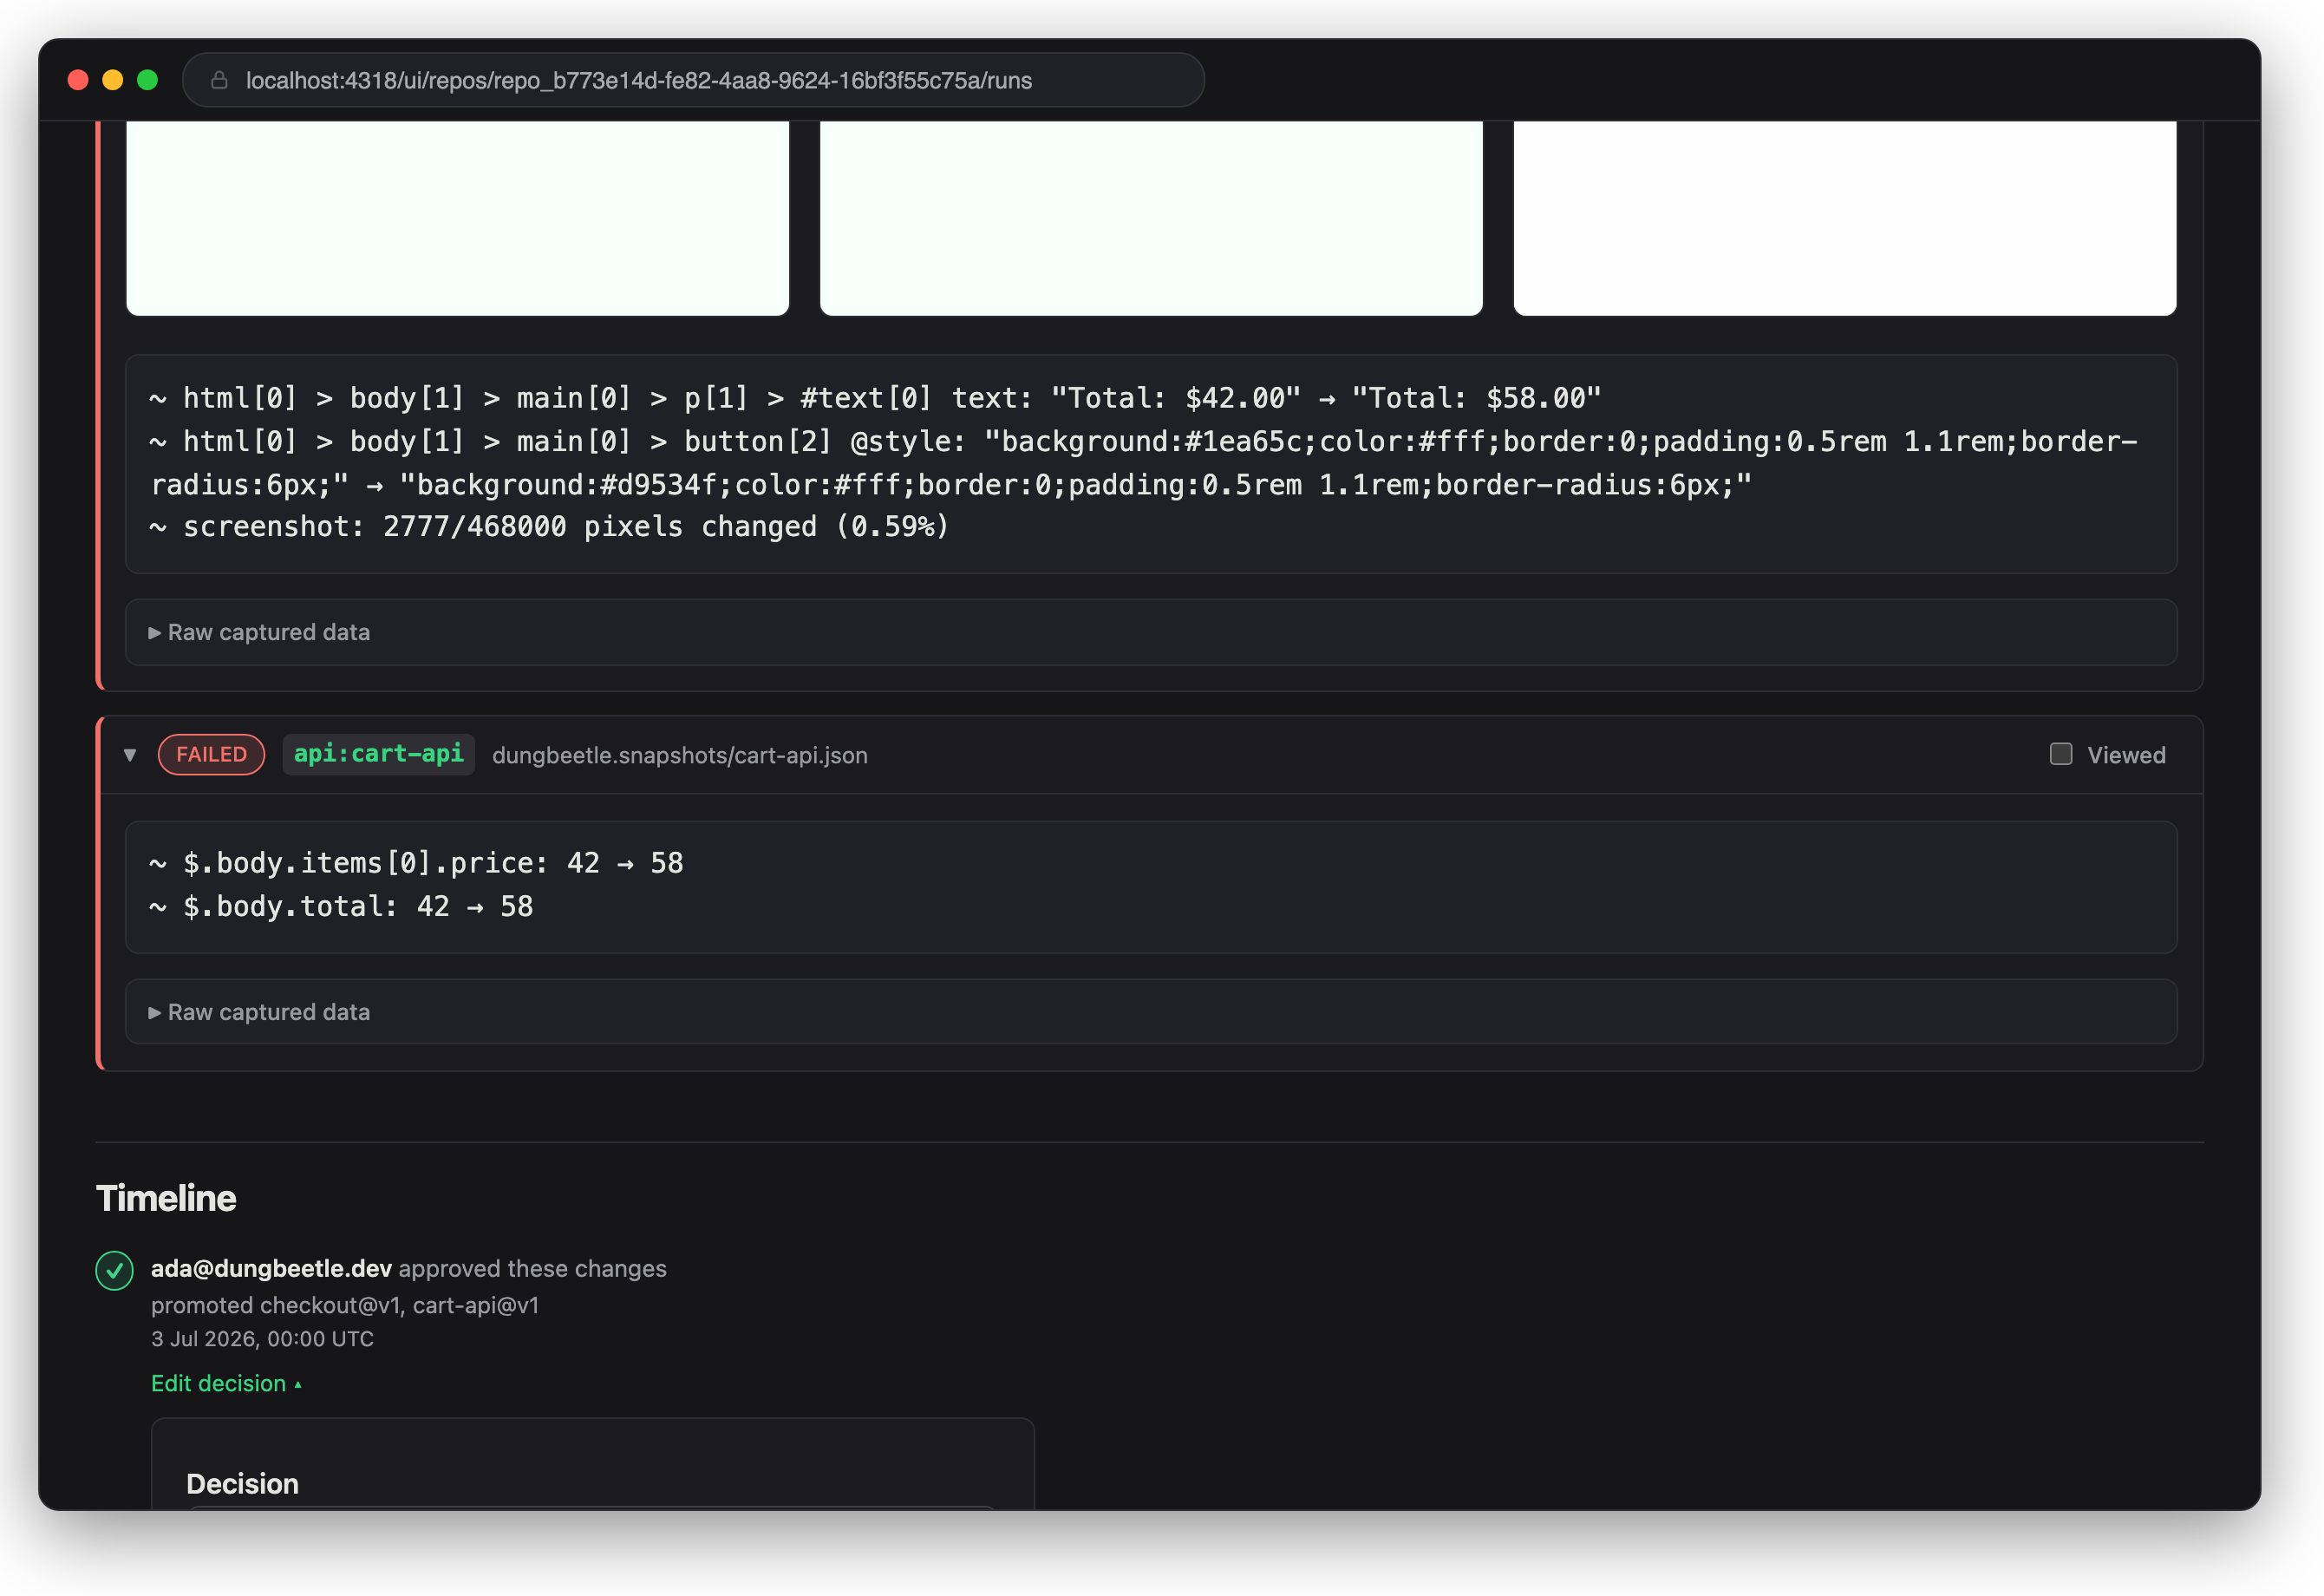
Open the run and read the per-target semantic diff — a node-level text change, not a re-rendered pixel blob. Targets with screenshots also get a visual comparison: before/after side by side, or an onion-skin overlay with a blend slider; API targets show their JSON-path diff the same way. Then record an approve/reject decision. The audit trail is append-only; approving with Promote turns the candidate snapshots into new hosted baselines.
Once you've decided, the review form gives way to your entry in the PR-style timeline — its Edit decision disclosure reopens the same form, pre-filled, and submitting appends a superseding decision (history is never rewritten).
Screencast — from the home page: sign in → open the failed run → read the diff → approve and promote → the timeline takes over, ready to edit the decision.
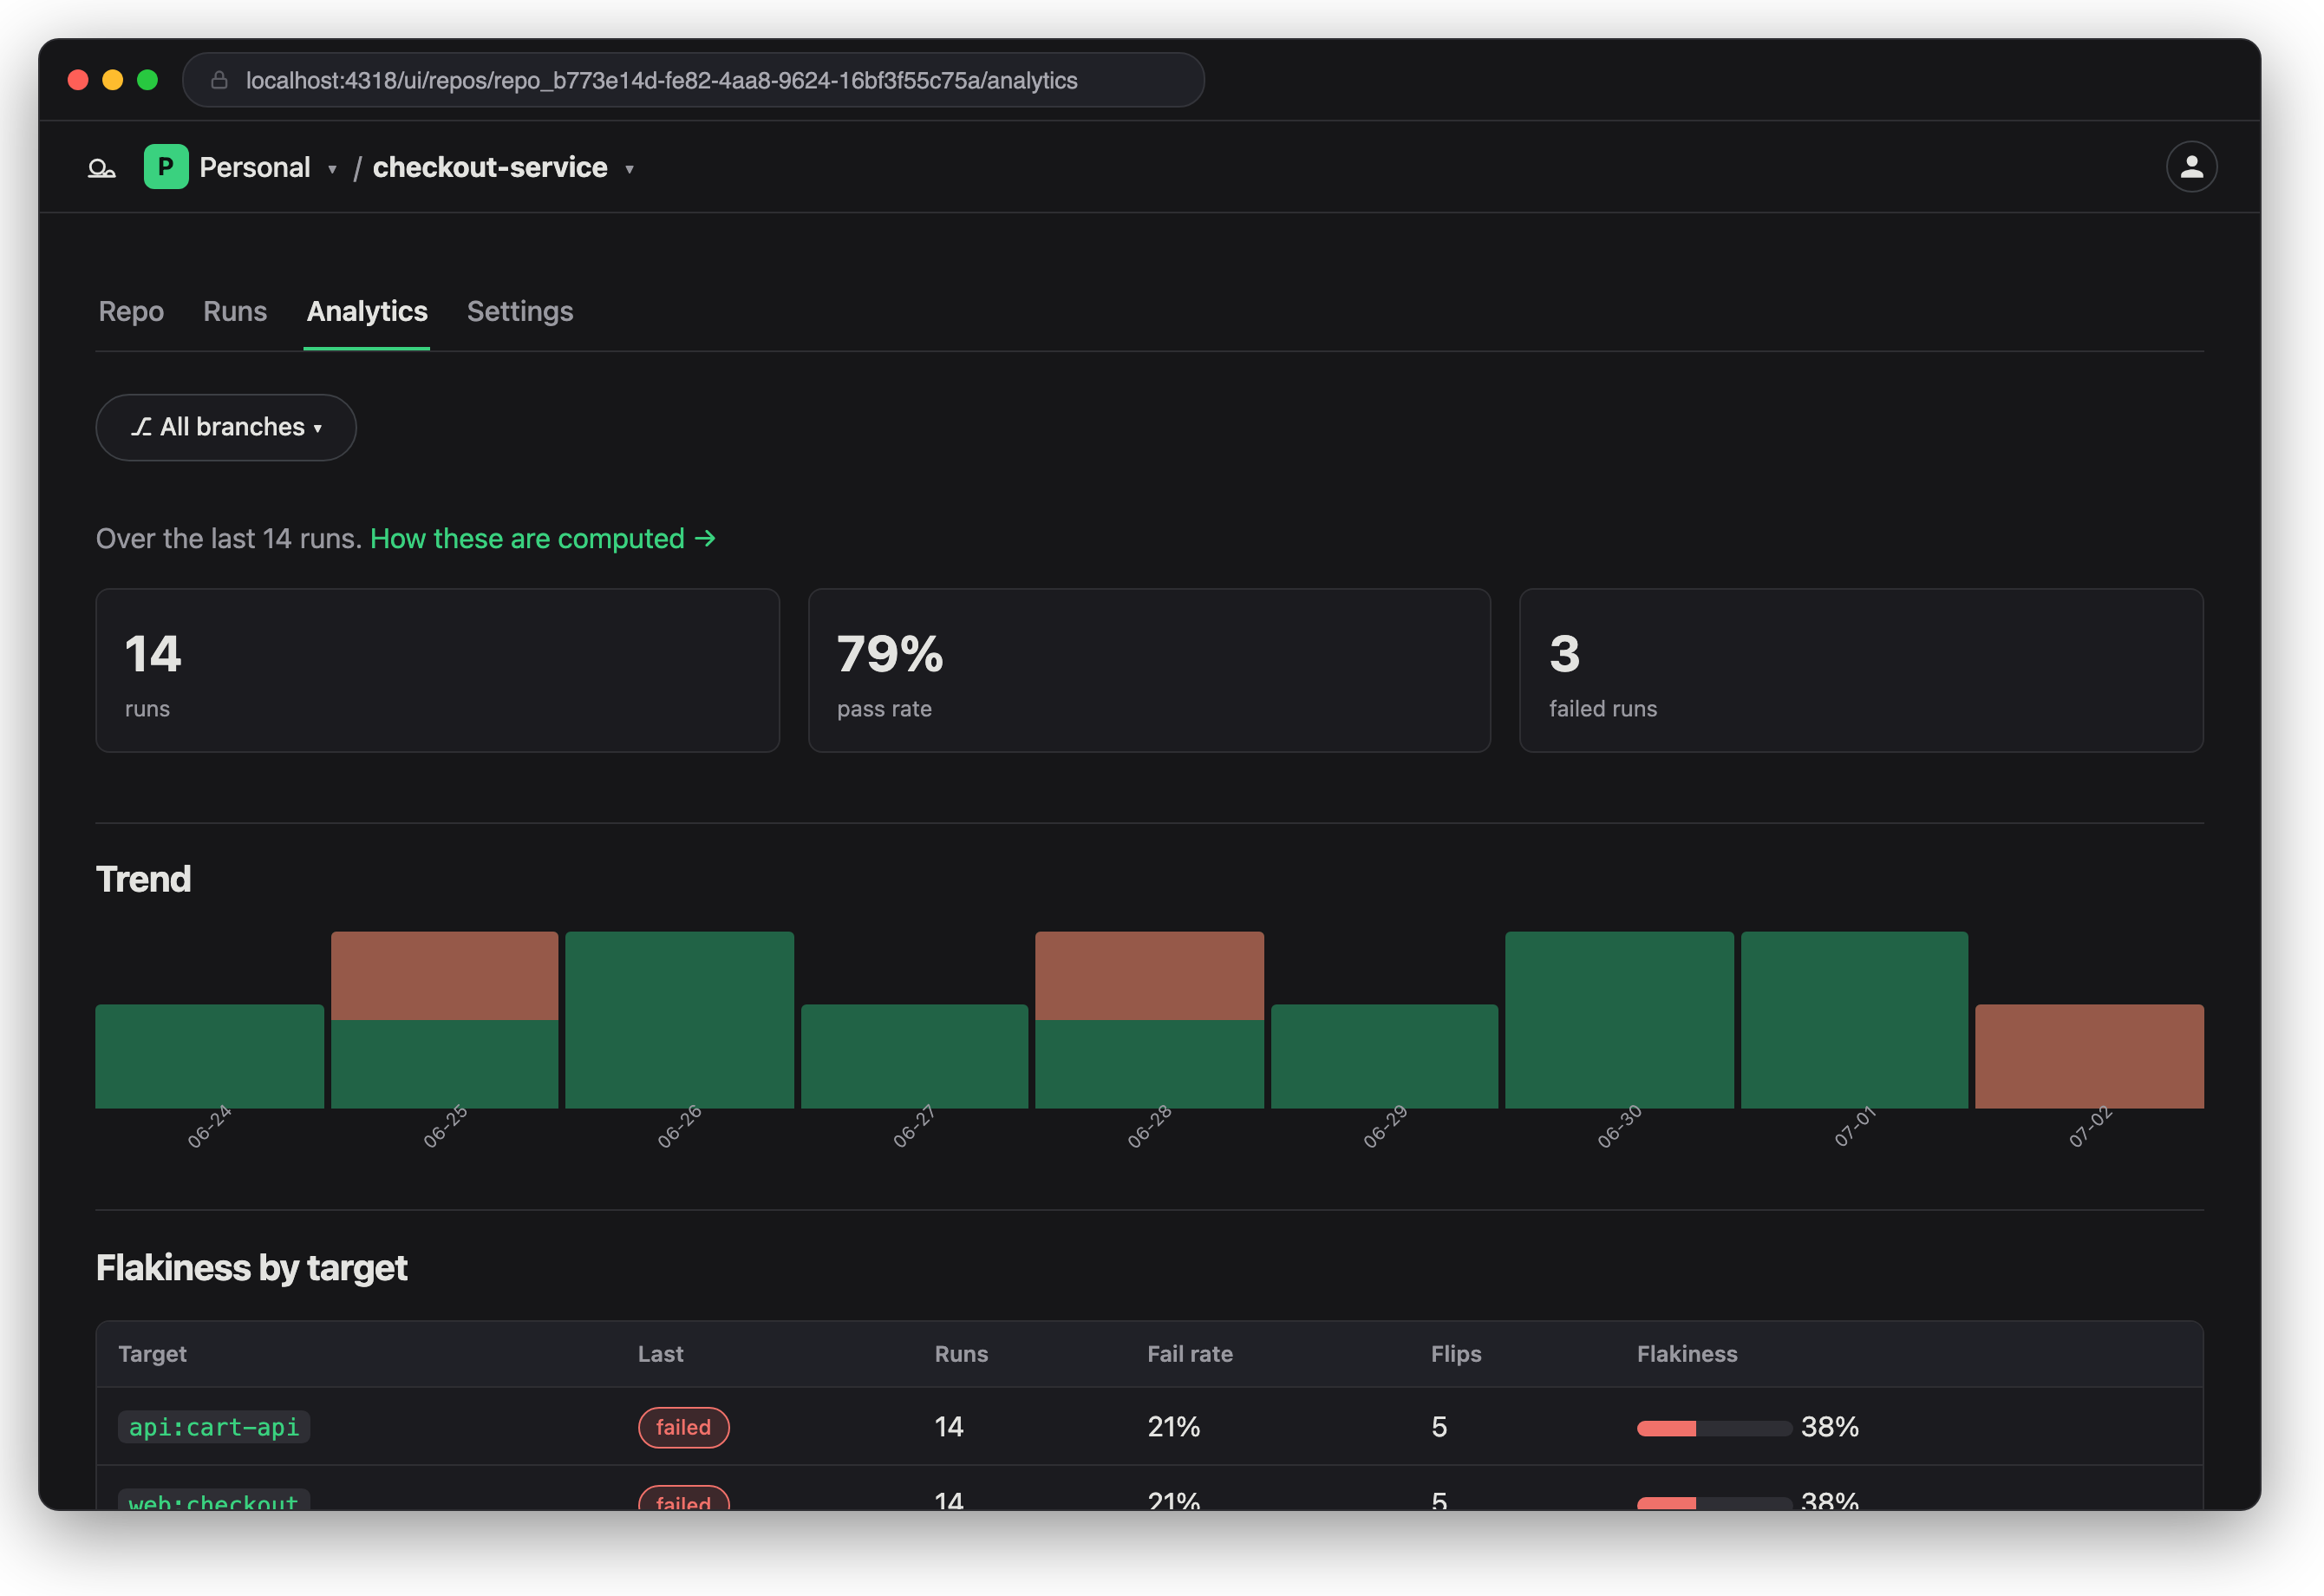
5. Check analytics
Visit a repository's Analytics for pass rate, trend, and per-target flakiness.
Next steps
- Web (Playwright) target — configure a
webtarget, mask a dynamic element, approve a baseline. See Web capture type. - Terminal target — capture stdout/stderr with ANSI normalization. See Terminal capture type.
- CI integration — wire
dungbeetle ciinto your CI pipeline and read the report artifact. - Enterprise self-hosting — run the Dungbeetle cloud on your own infrastructure (an enterprise offering). See Self-hosting.