
Python
A complete, copy-paste walkthrough: start a new FastAPI app, snapshot its rendered page with Dungbeetle, change a route, and read the semantic diff. It uses the default web capture with the zero-dependency fetch driver — no browser install required. A CLI variant is at the end.
Prerequisites
- Python 3.10+ with
pipandvenv. - Node.js 22 or newer — Dungbeetle's runtime (
node --version).
1. Create a new FastAPI app
Make a project, set up a virtual environment, and install FastAPI + Uvicorn:
mkdir fastapi-app && cd fastapi-app
python -m venv .venv && source .venv/bin/activate   # Windows: .venv\Scripts\activate
pip install fastapi uvicorn
Create main.py with a single HTML route:
from fastapi import FastAPI
from fastapi.responses import HTMLResponse

app = FastAPI()


@app.get("/", response_class=HTMLResponse)
def index() -> str:
    return "<html><body><h1>Hello from FastAPI</h1></body></html>"
Run it to confirm it serves at http://127.0.0.1:8000:
uvicorn main:app --port 8000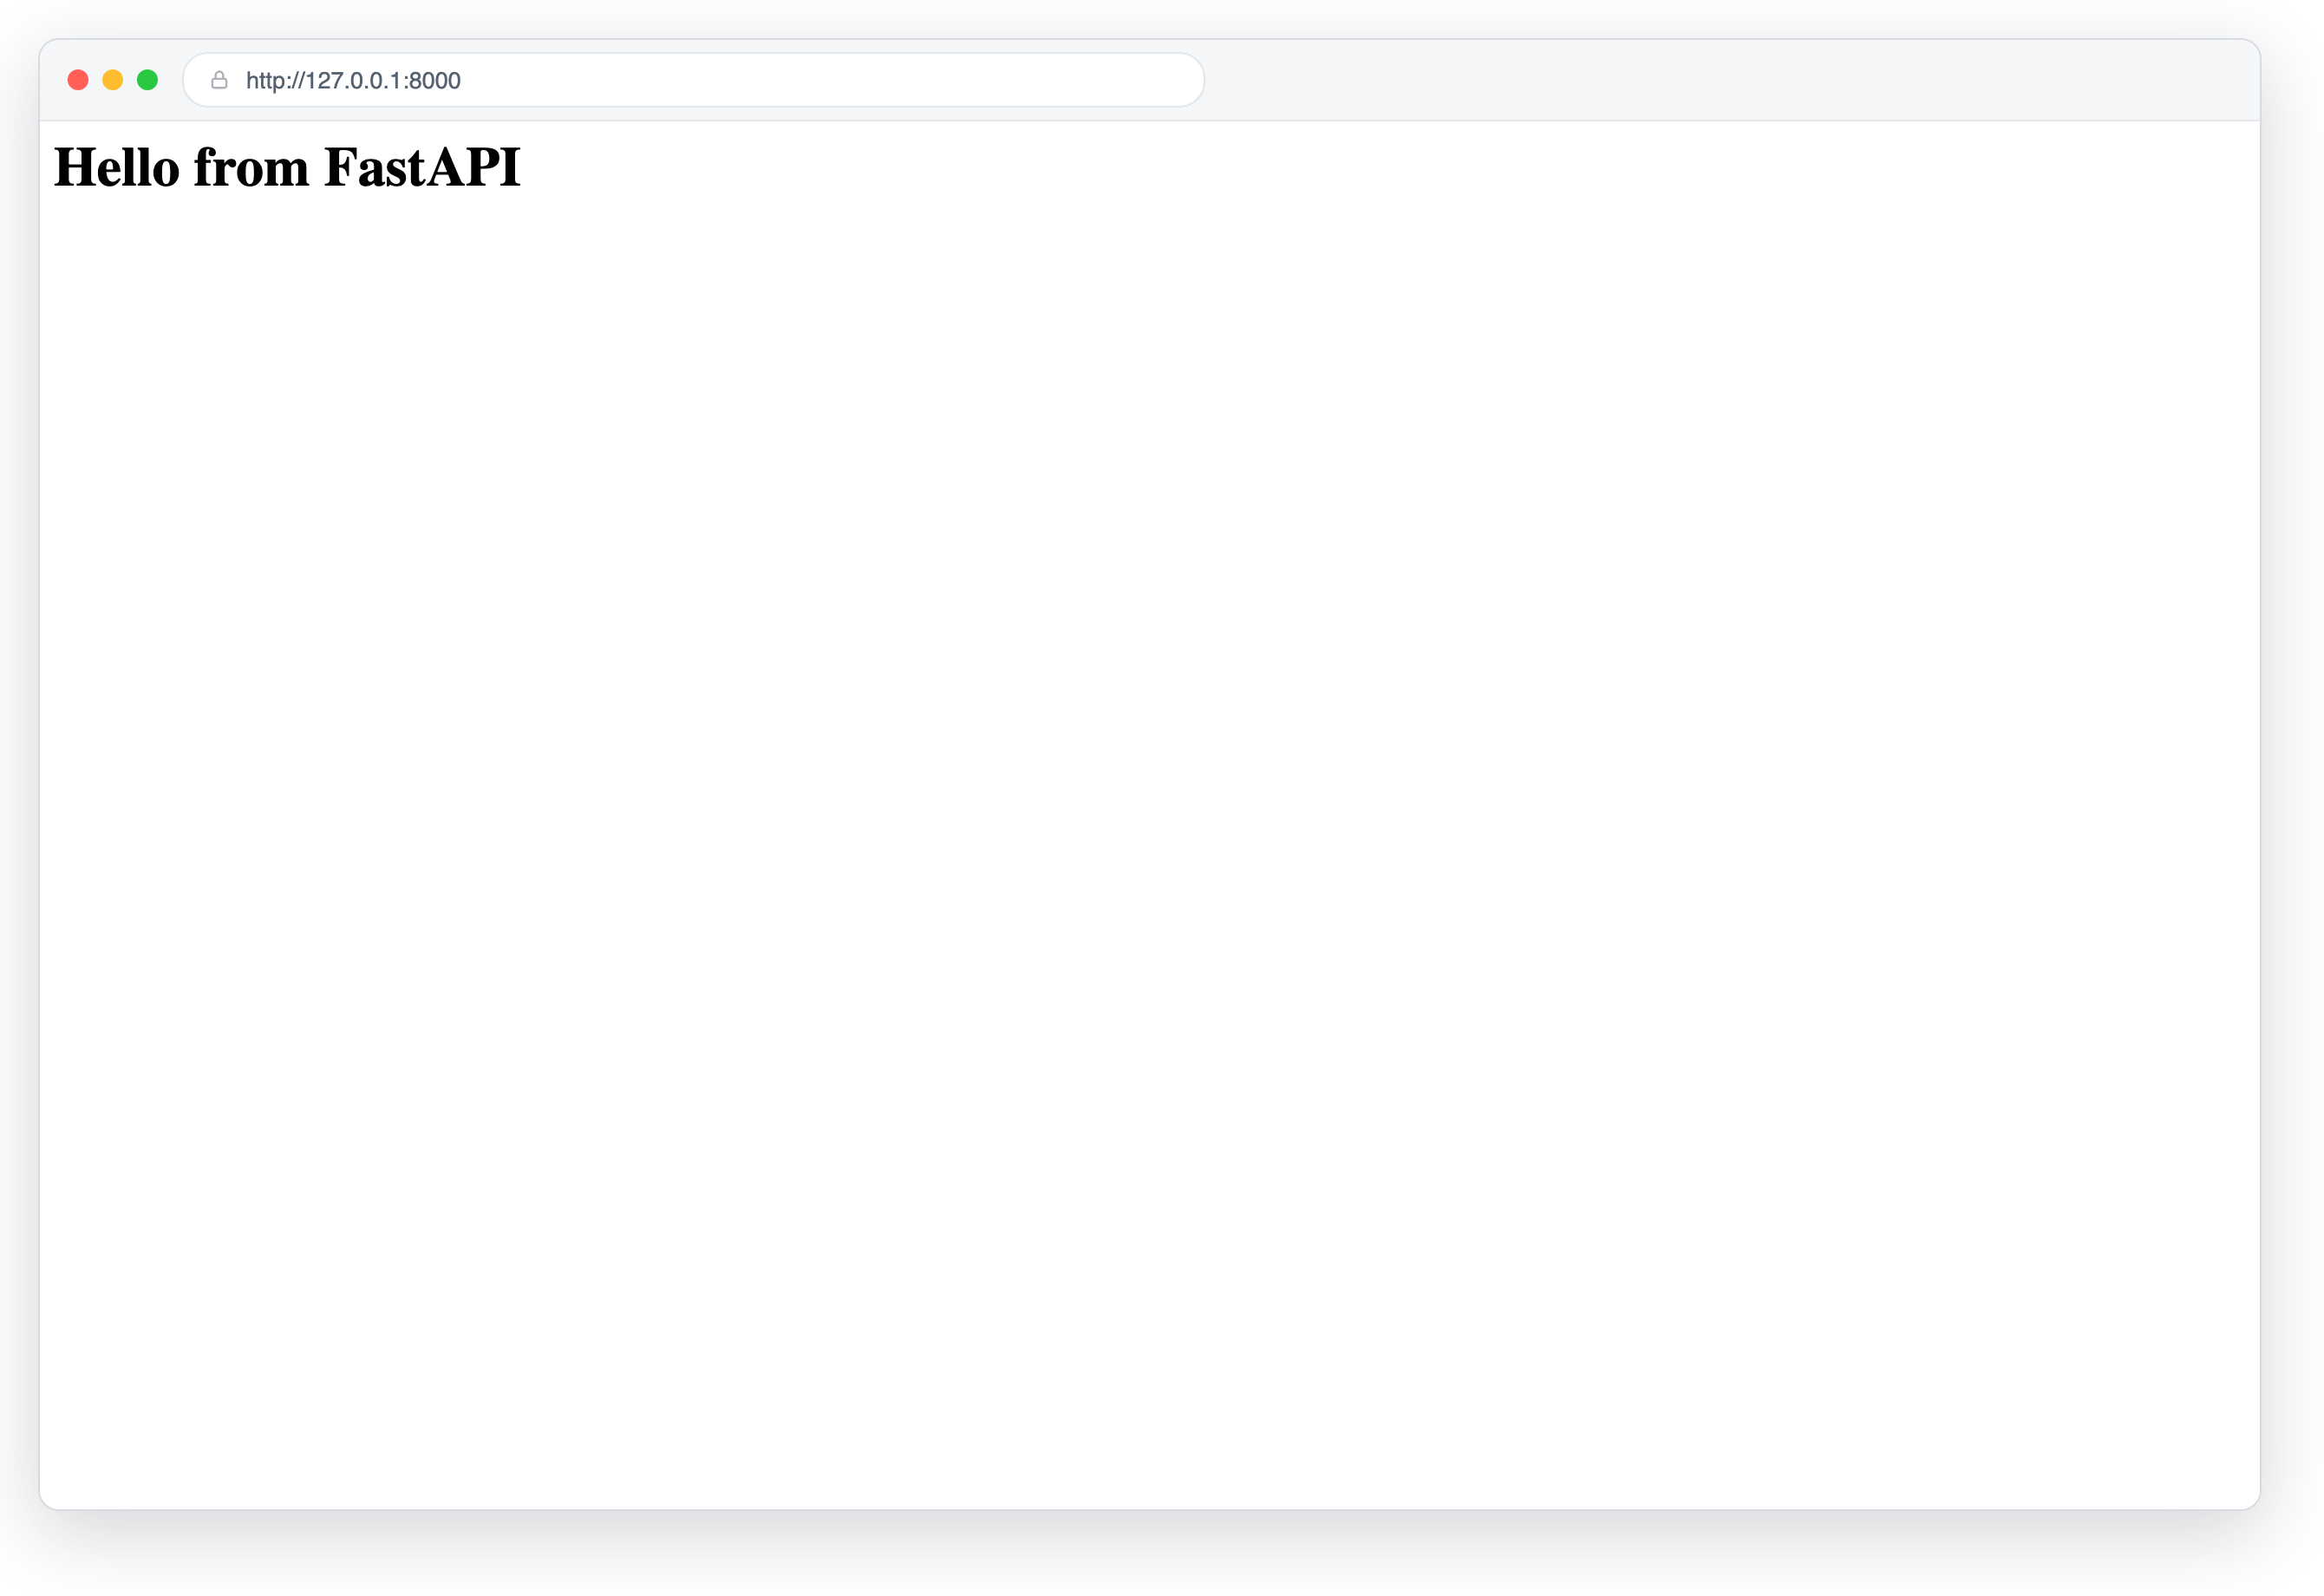
2. Install Dungbeetle
npm install --save-dev dungbeetle
npx dungbeetle --version
This adds a package.json to the project; commit it alongside your Python code.
3. Scaffold a config
Generate a starter config, then replace it with the one below. It starts Uvicorn, waits until it responds, and snapshots the page — then shuts the server down:
npx dungbeetle init{
"version": 1,
"project": { "name": "fastapi-app" },
"baselinesDir": "dungbeetle.snapshots",
"artifactsDir": ".dungbeetle/artifacts",
"lifecycle": {
"start": ["uvicorn main:app --port 8000"],
"wait": { "url": "http://127.0.0.1:8000", "timeoutMs": 30000 },
"capture": [
{ "kind": "web", "name": "index", "url": "http://127.0.0.1:8000" }
]
}
}The web target uses the default fetch driver (no Playwright, no browser). See Web snapshots and the full configuration reference.
4. Validate the setup
npx dungbeetle doctor5. Capture the first baseline
npx dungbeetle updateDungbeetle boots Uvicorn, waits for http://127.0.0.1:8000, captures a structured DOM snapshot, writes it under dungbeetle.snapshots/, and stops the server. Commit the baseline:
git add dungbeetle.snapshots
git commit -m "Add Dungbeetle baseline for index route"
6. Make a change and compare
Edit the heading in main.py:
return "<html><body><h1>Hello from Example App</h1></body></html>"Now compare current output against the baseline:
npx dungbeetle testtest boots the server again, re-captures, and exits non-zero because the DOM changed. The diff is semantic — a node-level text-changed, not a pixel blob.
7. Read the report
npx dungbeetle ci --json report.json --html report.html
open report.html # macOS; use xdg-open on LinuxScreencast: doctor → the edited main.py fails test with a semantic diff → update accepts it → test passes.
Flow video — the terminal session replayed, then the served page with its change, then the failing run's HTML report.
8. Accept the new baseline
npx dungbeetle update
git add dungbeetle.snapshots && git commit -m "Update index baseline"
Snapshot a CLI instead
For a command-line tool, capture stdout/stderr with a terminal target instead of a web one — no server needed:
{
  "version": 1,
  "project": { "name": "python-cli" },
  "lifecycle": {
    "capture": [
      { "kind": "terminal", "name": "help", "command": "python -m yourtool --help" }
    ]
  }
}
dungbeetle update / test then snapshot and diff the command's output, with ANSI normalized to stable structured segments.
9. Review in the cloud
Push a run to a Dungbeetle server and the review UI shows the whole story in one place: the DOM's semantic diff, the FastAPI endpoint's JSON diff with its numeric changes, and before/after screenshots from the Playwright driver.
Screencast: sign in → open the failing run → semantic diffs, screenshot comparison with onion skin → approve and promote the new baselines.
Next steps
- Add a
webtarget per route, or mixwebandterminaltargets in one config. - Other frameworks work the same way — point
startatflask runorpython manage.py runserverand setwait.urlto match. - Need browser-rendered DOM or screenshots? Use the Playwright driver. Push runs to the cloud server to review diffs in a browser.